We’re on a Roll!
If you’ve ever had a fruit roll-up you know they’re delicious and oh-so easy (and fun!) to munch on while on the go. The trouble is, commercial fruit roll-ups we find in stores are heavy on artificial ingredients, sugars, sodium, carbs, and are light on nutrition. The result? A not-so-healthy yet expensive snack.
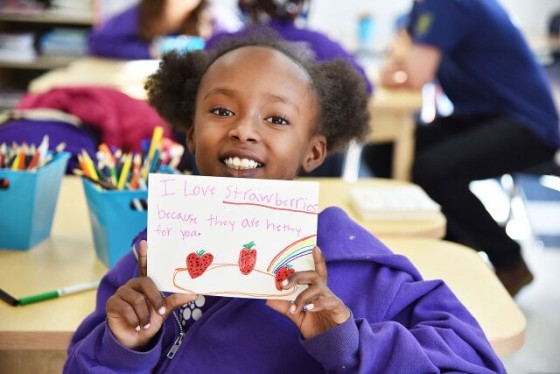
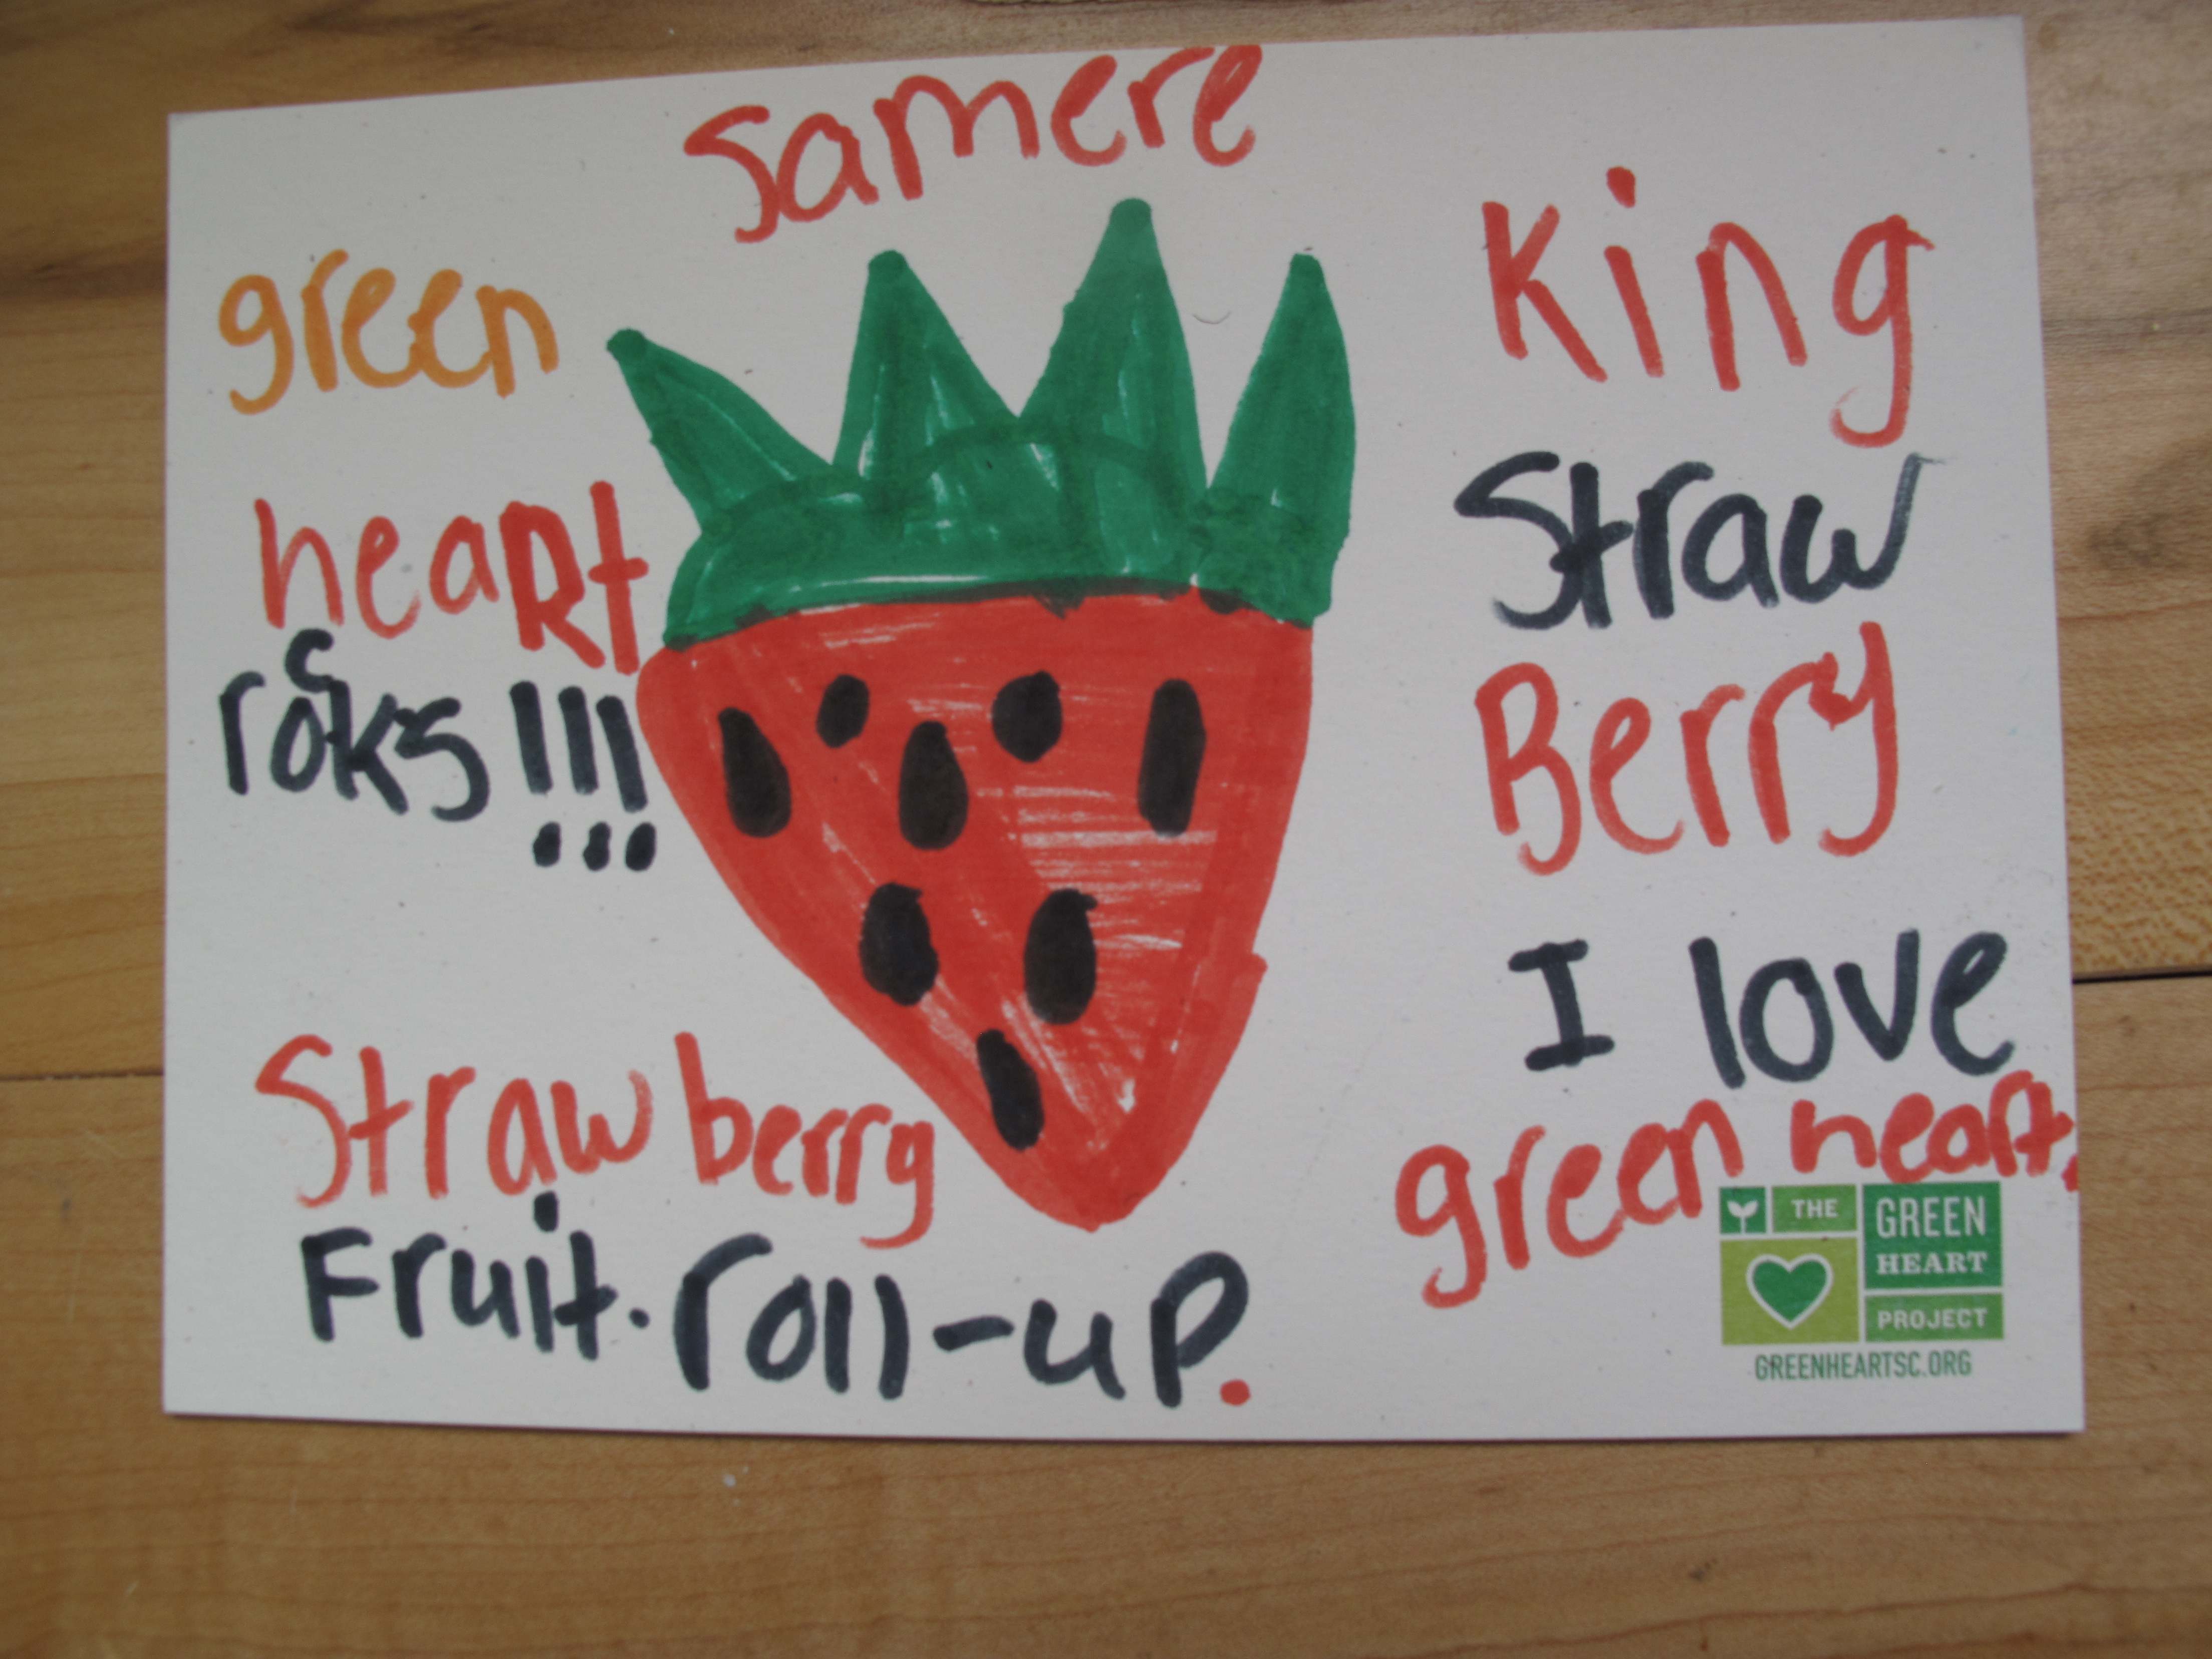
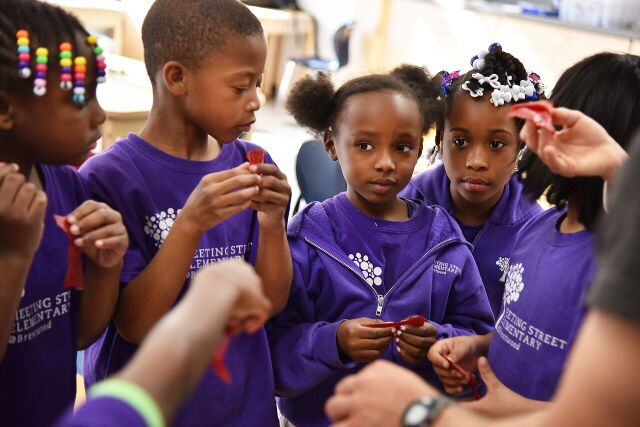
So when Limehouse Produce‘s 2016 Berry Creative Campaign, which challenges area school children to develop a recipe starring fresh local strawberries in honor of strawberry season, rolled around we tried our hand at making DIY fruit roll-ups. And man were they tasty!

Read on for the recipe we created for the competition (the victor of which will win 100 pounds of strawberries, a shout out on Limehouse’s website, and a trip to Boone Hall Plantation to pick up the berries) then give our roll-ups a go!
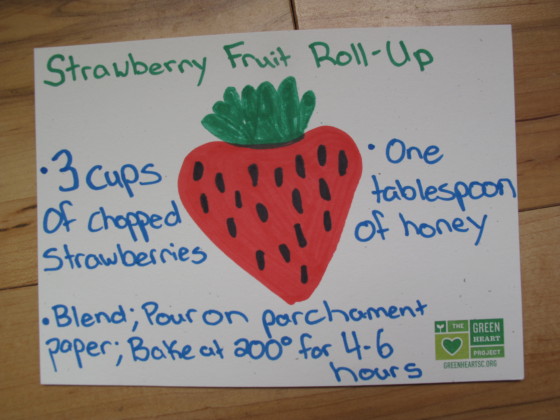
DIY Fruit Roll-Ups and Fruit Leather
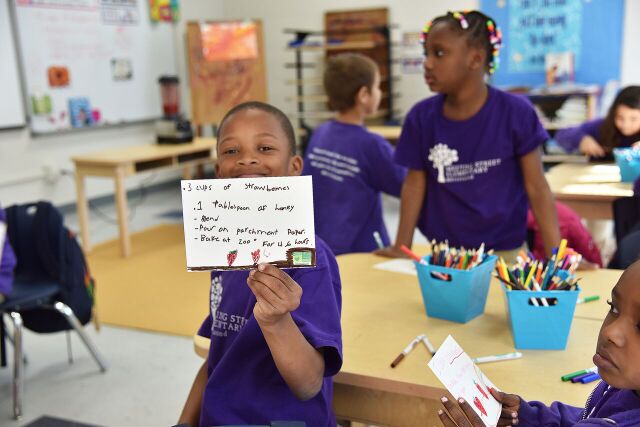
Ingredients:
3 Cups fresh fruit (in our case strawberries)
1 Tbsp honey (local raw honey, if available)
*Note: This is a ratio, so increase measurements accordingly to yield additional roll-ups.
Materials:
Non-stick parchment paper
Large baking sheets with edges
Blender
Spatulas
Oven Mitts
Oven
Scissors or knives to cut fruit leather into strips
Instructions:
- Have the kiddos harvest and wash fruit, remove the stems, seeds, etc. (prep process will vary depending on what fruit you are using).
- Preheat over to 200°F
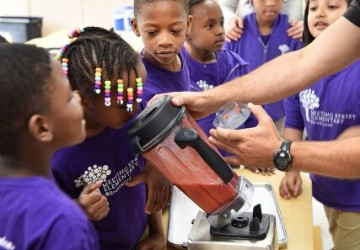
- Place fruit in a blender or food processor and add your sweetener (if honey is not available, or for added sweetness, use maple syrup).
- Blend until mixture is slushy -like.
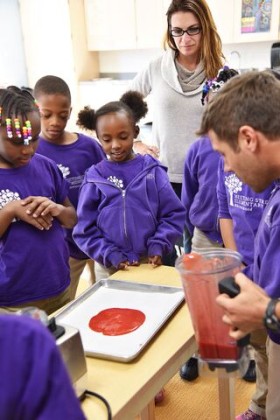
- Line your baking sheets with nonstick parchment paper (Note: This will not work with wax paper or if poured straight onto the pan!)
- Pour the fruit mixture onto the parchment paper and use a rubber spatula to make sure that the mixture is distributed as evenly as possible and to eliminate any air bubbles. Be sure the center of the pan does not “pool” with the mixture; if that is the case, the edges will over-crisp while the center stays soft.
- Bake at 200°F for 2-4 hours. Depending on the fruit used, you may need to turn the oven up to 225 or 250°F, so check on it periodically. You will know it is ready when it is no longer sticky to the touch and feels like leather (Alternatively, the sheets can be left out in the sun if it’s a super hot day, but this takes longer than baking).
- Once it is ready, remove the fruit leather from the oven and let cool overnight (can be kept on the baking sheet).

- The next day, keeping the parchment paper on, cut the fruit leather into strips. Keep as is for fruit leather snacks or roll up the strips for fruit roll-ups.
When ready to eat, peel fruit from parchment paper and enjoy just like the classic roll-ups you see in stores (Snacks will last for weeks stored in either the fridge or freezer)!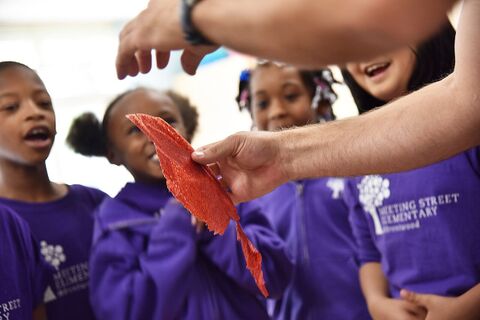

Comments on this post